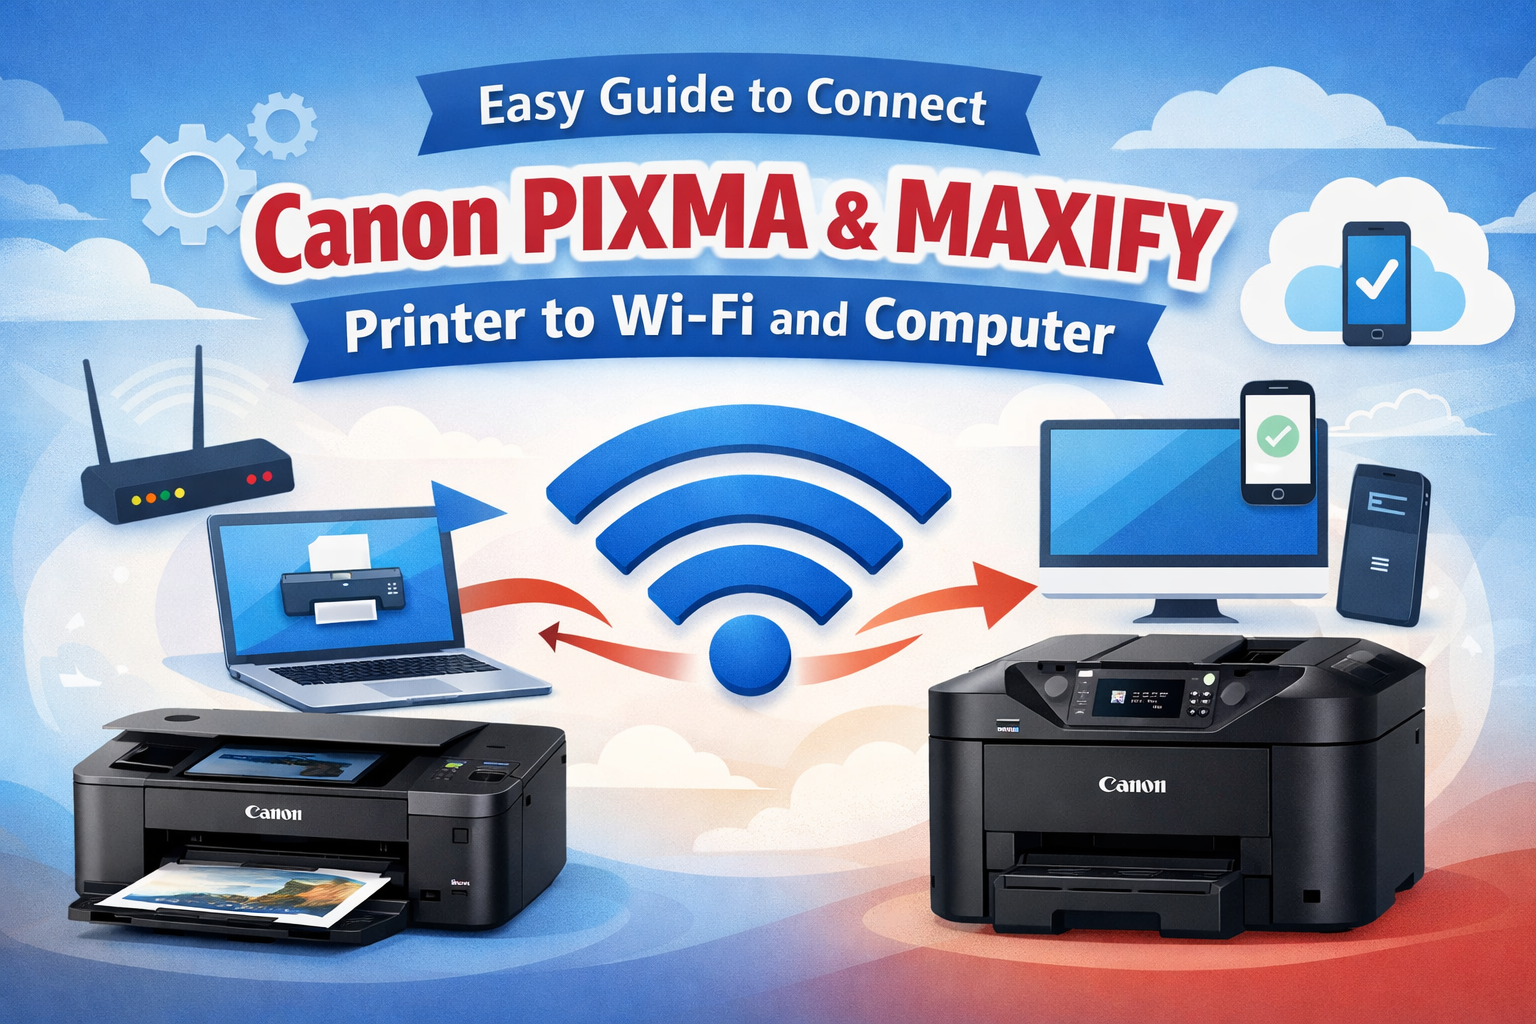
Canon PIXMA and MAXIFY printers are known for their reliability and wireless capabilities. Setting up your printer with Wi-Fi and connecting it to your PC allows you to print documents effortlessly without dealing with cables.
If you're setting up your printer for the first time or reconnecting it to a new network, this guide will walk you through everything step by step.
Understanding Wireless Printing
Wireless printing means your printer connects to your Wi-Fi network instead of directly to a computer. Once connected, any device on the same network can send print commands.
This setup is ideal for homes, offices, and shared workspaces.
Requirements Before Setup
Before starting, ensure you have:
- A working wireless router
- Network name (SSID) and password
- Canon PIXMA or MAXIFY printer turned ON
- A laptop, desktop, or smartphone
Step 1: Connect Canon Printer to Wi-Fi Network
Option A: Standard Wireless Setup
- Turn on your Canon printer
- Navigate to the Settings or Menu option
- Select Wireless LAN Setup
- Choose your Wi-Fi network from the list
- Enter your password carefully
- Confirm and wait for connection
A steady Wi-Fi indicator light confirms successful connection.
Option B: WPS Quick Setup
For routers with WPS support:
- Press the WPS button on your router
- Press the Wireless button on the printer
- Wait for both devices to establish connection
This method skips entering the password manually.
Step 2: Install Printer on Your Computer
For Windows Users
- Open Settings > Devices > Printers & Scanners
- Click Add a Printer or Scanner
- Select your Canon printer when it appears
- Follow the prompts to finish installation
If not detected, download drivers from Canon’s official website.
For macOS Users
- Go to System Settings > Printers & Scanners
- Click the Add (+) button
- Select your printer from the network list
- Click Add to complete setup